Almost every chandelier comes with more wire and chain than you will actually need. Due to this, there is almost no chance that you’ll need a longer chain to hang the chandelier on the high ceiling. Instead, you may experience difficulties with the excess chain. By adding the extra chain, the chandelier will hang lower, increasing the risk of people hitting their heads on it.
In such a condition, you may search for a solution on how to shorten the chandelier chain in a simple way. And, for your better understanding, we’ve brought a step-by-step guide for the shortening process of a chandelier chain.
What Is A Chandelier Chain?
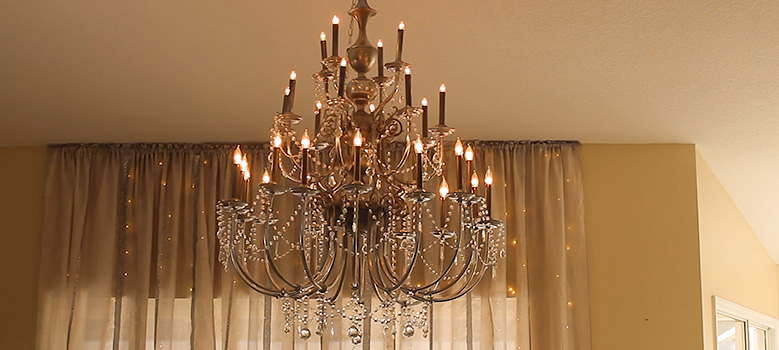
We hope that you already know what a chandelier is. This elegant lighting system of your room always requires an attachment solution to hang onto the ceiling. Usually, the chandelier is hung in the ceiling using a hook, and you need a chain to attach the chandelier to that hook.
Specifically, the chandelier chain works as an attachment rope for both the chandelier and the hook. One end of the chain is attached to the chandelier, and another end connects to the ceiling hook. Mostly, you need to adjust the chain length to fit with the height of your ceiling.
Necessary Things For Shortening Chandelier Chain
Before moving on to how to shorten the chain on a chandelier, you should make sure that you have the necessary tools and accessories in hand. Obviously, you won’t enjoy stopping in the middle of the process because of not having a specific tool.
When working for a chandelier chain, we recommend you to have a helping person around you for occasional assistance. Let’s look at other necessary tools below.
- A Measuring Tape
- Wire Strippers
- Two Ladders
- Two Chain Pliers
- Screwdrivers
- A Voltage Detector
How To Shorten A Chandelier Chain
When you know how to adjust a chandelier chain, you will also know how to shorten it. The adjustment process involves both lengthening and shortening. However, we’ll focus here only on the shortening process so that you can prevent your chandelier from hanging too low.
1. Switch Off The Power Supply
The first thing you should always do is switch off the electricity supply. That means, the chandelier won’t get any electric power from the source, and you are safe to work with it. The reason behind such carefulness is that you need to handle a metal chandelier chain in most cases. And, the metal always brings a higher risk of getting electrocuted.
So, after turning off the main switch, use a tester screwdriver or voltage detector to ensure there is no current flow on the chandelier or the chain. In any case, you must not work if the wires or chandelier have any current flow.
2. Perform The Measurement
Here comes the vital part. Now you need to identify the perfect hanging level of the chandelier. To do this, measure the desired length from the ceiling to the below level where you want to keep it hanging. Then, use a measuring tape to get the exact height of the chandelier from the upper end of the chain to the surface level below.
After that, subtract the desired height from the chandelier height. The result is the length of the excess part of the chandelier chain. And, you need to work on shortening this specific length from your chandelier chain.
3. Bring The Chandelier On A Table Or Cloth
As you need to start working with the chandelier chain now, you should keep the chandelier firmly on a table or cloth on the floor. In both cases, you should have enough space for free movement around the chandelier. Otherwise, the working experience won’t be good.
Next, you need to look at the excess length on the measuring tape. And, measure the same height from the chandelier chain. Calculate the number of links that fall within this length. If you start the measurement from the start of the link and the end part finishes before touching the end of the last link, you should count that last link too. Because a slightly lower length is accepted instead of a longer chain.
4. Identify The Split In The Links
Usually, the chain of a chandelier is constructed using thick links. That means the split part is also hard to find on the links. Typically, you’ll find the split in the middle of the link where two links join or end together.
After locating the split, you need to remove the link using chain pliers. And, you should pick two pliers to remove any link. Because two pliers will be used to hold two sides of the split. Holding tightly using pliers, you need to twist them anticlockwise, and the link will be opened. Now, you can separate the opened link from the chandelier chain.
5. Remove Measured Links
You’ve already measured the excess length and the links with that length. Now you need to remove other measured links using the same process as the previous step. And, you need to repeat the same process until all marked links are separated.
Suppose you’ve measured the excess length on the chandelier chain, and four links have fallen within that range. That means you need to remove four links from the chain using a similar process. Stop only after removing all measured links from the chandelier chain.
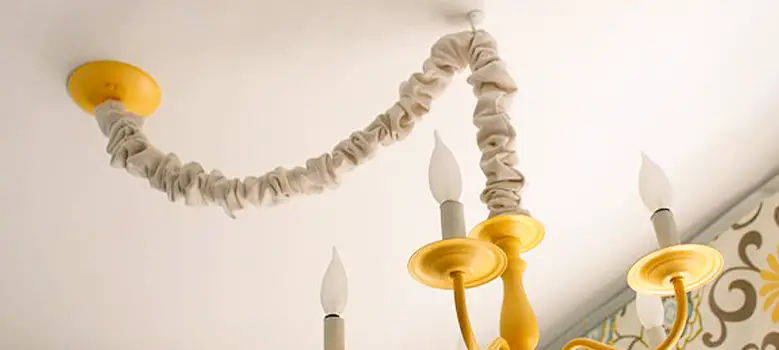
6. Keep A Longer Chandelier Cord
Not to mention, the chandelier cord must be longer than the chain. Because the chain should hold the weight of the chandelier. Actually, the cord is not made for holding the chandelier. If the cord is longer than the chain, it will create massive pressure on the cord.
In effect, the hanging mechanism of the chandelier may tear apart very soon. To avoid such conditions, you should weave the chandelier cord through the chain links and make the cord part smaller.
7. Separate The Canopy From The Ceiling
Normally, the canopy of the chandelier is attached to the ceiling in the first place. And, you need to remove it from there to carry on further. With this in mind, you can use a screwdriver to separate the canopy from the ceiling. Make sure that the wiring connections are maintained carefully when hiding the extra cord inside the canopy.
8. Attach The Canopy
Finally, the chandelier is fixed with the canopy, and the chain is also shorter. Now, you should set all the things back into their places again. So, attach the canopy with the help of the ladders. Get someone to hold the chandelier climbing up a ladder, and you use another ladder to join the canopy to the ceiling. Altogether, the chandelier is adjusted with the shortened chain now.
Final Speech
If you follow the above directions, you can shorten the chandelier chain. It may not be convenient to have the chandelier’s chain extend to such an extent every time, even if the manufacturers provide it. The chandelier will automatically be raised when you shorten the chain. By doing so, you can maintain the proper height and hanging level of the chandelier.