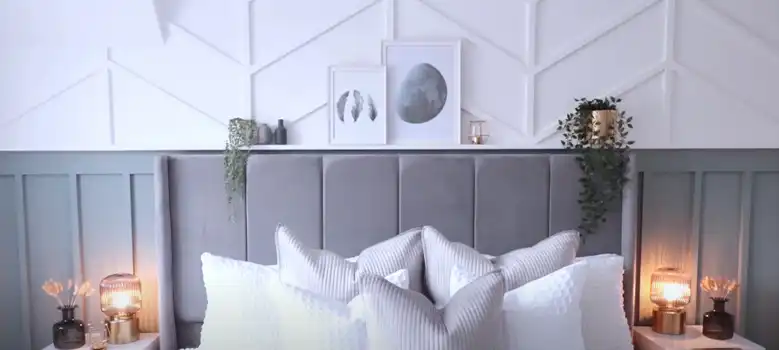
As a big fan of home improvement who has installed various types of wall panels over the years, I’ve found that adhesive-free installation is the way to go. Wall panels are decorative coverings that can instantly upgrade your room’s aesthetic.
Popular options like 3D panels, shiplap boards, and peel-and-stick tiles allow you to add stylish textures and patterns to your walls without paint or wallpaper. The advantage of installing them without adhesive is that they can be easily removed or repositioned if you ever want to update your look.
Here’s how you can go about doing it on your own:
Preparing the Wall Surface
Before starting any panel project, it’s important to make sure your wall surface is properly prepped. I always inspect for any holes, bumps, wallpaper, or dirt that need to be patched, scraped, or cleaned off ahead of time. Ensuring you have a smooth, even foundation is key to getting those panels flush to the wall.
Measuring and Cutting Panels
Once your surface is ready, measure the area you want to cover and mark where your panels will be installed. Be sure to account for corners and edges so you know where cuts need to be made. I recommend using a straightedge and utility knife to accurately score and cut panels to size. Practice first on scrap pieces if needed.
Installing the Ledger Board
The next step is installing a ledger board at the bottom, which will support the vertical weight of the panels. I like to use a level to ensure my ledger board is perfectly straight before securing it to studs with screws. This provides a stable base to build up from.
Mounting the Hanging System
Now you’re ready to mount your chosen panel hanging system. Options like rail tracks, adhesive strips, or cleat hooks securely cling to walls while allowing you to slide or press in panels. Follow the product instructions closely, as each system has its own specifications for hardware spacing and setup. I’ve found command strip panels to be the easiest for beginners.
Hanging and Locking Panels
Once your tracks or strips are up, carefully hang panels by either slipping them into the rail channel or adhering to the strips. Slowly work your way across the wall, locking each panel into place as you go. If using tracks, engage the locking mechanism. For strips, apply even pressure. Leaving a small gap between panels will allow room for expansion.
Adding the Finishing Touches
Adding trim pieces along the edges gives a polished, built-in look. Measure and cut top caps and side trim to size. Nail or glue trim into place with decorative molding nails or strong construction adhesive. Caulking gaps before adding trim minimizes visible seams.
Maintaining Your Panels
Maintaining your panels involves occasionally checking for loose pieces and reattaching them snugly to the wall. With the right prep and installation, adhesive-free panels can provide a long-lasting style to any room. Let me know if you have any other wall panel questions!
Additional Tips for Proper Wall Panel Installation
- When measuring, add an extra 1/4 inch on all sides to account for imperfections in your walls. It’s better for panels to be slightly small than trying to stretch them onto a large area.
- Pay attention to the direction of wood grain or patterns when arranging panels. Plan the layout so grains line up nicely across seams for a cohesive look.
- Use shims behind panels if your wall has uneven spots. Small wooden shims can be inserted behind to build out dips and make the panel sit flush.
- Pre-drill holes for nails or screws when attaching trim pieces to prevent splitting or cracking the wood. Drill just slightly smaller than your hardware.
- Apply painter’s tape along edges before caulking. This helps keep the caulk line straight and clean. Remove tape while caulk is still wet for perfect results.
- Consider adding acoustic foam panels in home offices or studios. They help absorb echoes and ambient noise for better concentration.
FAQ
What tools do I need?
Measuring tape, straightedge, utility knife, caulk gun, nail gun or hammer, level.
What if my wall surface isn’t smooth?
Fill holes with spackle, remove wallpaper, and sand bumps, and clean walls fully before installing panels.
What thickness of panels should I use?
Thinner panels are lighter but more prone to damage. 3mm-5mm is ideal for most homes. Go thicker for a luxurious look.
How do I cut intricate patterns or holes?
Print out a template and tape it to panels before cutting out the shape with a jigsaw.
What should I use to clean wall panels?
Damp microfiber cloth with mild soap and water. Avoid harsh chemicals.


