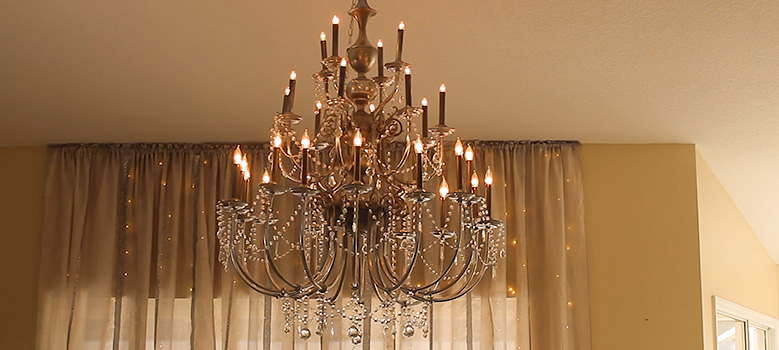
A light fixture is not only installed because of the light but also to improve your room and house with sophisticated beauty. It is one of the symbols of aristocracy from very old age.
But as fun and astonishing a fixture look on the ceiling, it isn’t as much fun putting them up. Also, if you have a semi-flush mount light fixture.
The complicated installation method might throw you off at first. But we are here with the easiest way how to install a semi flush mount light fixture. You don’t even need a handyman if you follow these simple steps.
How to Install a Semi Flush Mount Light Fixture
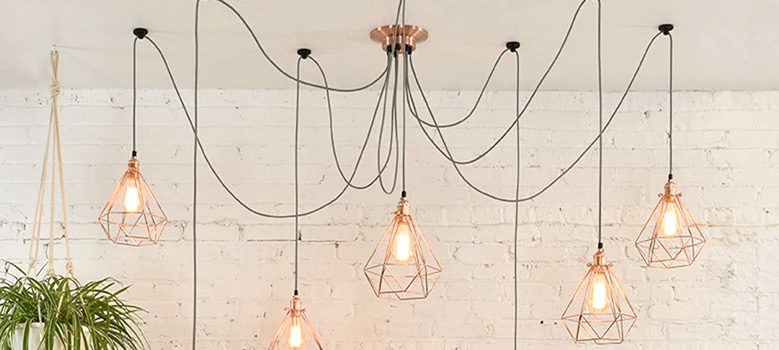
Semi-flush mount light fixtures are preferred because of their low area focus. While flush mount light fixtures or chandeliers cover a wide area, a flush mount will focus on a small area and provide ambient light throughout your room. And if you have a 3-way switch, that’s a cherry on top!
Although it may seem a bit too much work to put up a semi-flush mount light fixture, it is not at all a big hassle. Here is the easy step to put up a fixture of your choice.
Step 1: Turn Off Your Circuit Breaker
The first thing of any electrical work is turning off the circuit breaker. There should be no compromise in safety.
Step 2: Take off the Old Light Fixture
When your circuit breaker is turned off, start by taking off the old light fixture. You might need to take it apart from the cover, then unscrew the bottom part from the ceiling, and then on. Use a ladder and a screwdriver for your benefit.
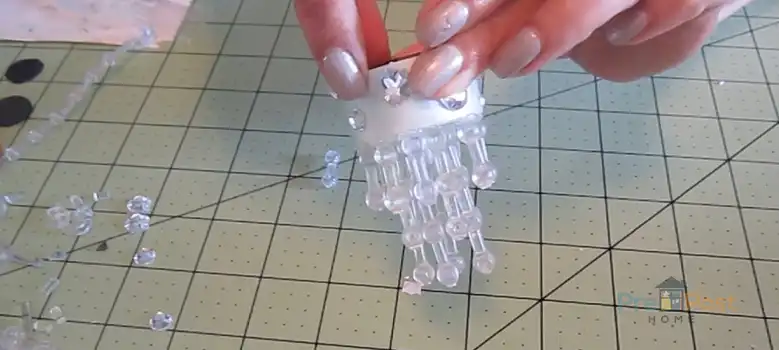
Step 3: Preassemble The Semi Flush Mount Light Fixture
After you have taken the old light fixture off, it is assembly time. Pre-assembly makes the process go faster than you can ever imagine. Nobody wants to dangle around on the ladder and fix the fixture for eternity. Follow the provided manual of the fixture for better understanding.
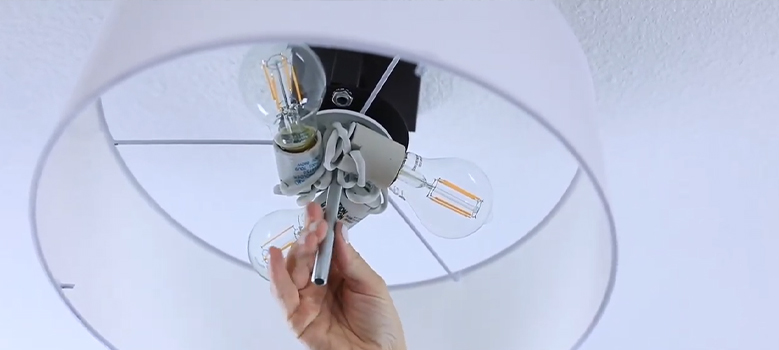
Step 4: Connect the Wires and Hanging Equipment in Place
When your assembly is done, take your chandelier up with you to the ceiling. And connect all the wires correctly. Do not mess up the color wires as they individually represent the different connections. And one wrong move can end you up with a damaged fixture. When you are done connecting the wires, use a wire cap to secure them.
Step 5: Wrap the Copper Ground Wire Together
Don’t come down and turn on the switch yet! You have to ground the light fixture with a copper wire. The wire is mostly found in modern sockets on the ceiling. If you don’t have one, just pry out one from an electric wire and connect it with the fixture’s copper wire. This is done so that any possible electrical shock doesn’t happen if you touch the fixture. Secure the screw on the end of the socket afterward.
Step 6: Secure It With the Nuts and Screws
Put on the ceiling casing of your fixture and secure it with the nuts and screws that came with it. Make sure they are not too tight so you don’t have to work too much, later on, to take them off.
Step 7: Turn It On
Now is the time to celebrate. Turn on your circuit breaker and turn on your light fixture switch. If it works, you are done. Enjoy the new light.
Pro Tip: Some light fixtures come with a lot of light bulbs. And if the house wiring is not capable, or even the switch, make sure they are of the same wattage or over the wattage capacity of your fixture. Otherwise, it will damage the whole wiring and the switch.
Frequently Asked Questions
How to mount a semi flush light?
Mounting a semi-flush light is as same as any chandelier or light fixture. The only difference they have is that they leave a gap between the ceiling and the light fixture itself. Otherwise, the process is the same as putting up any light fixture.
How to install a flush mount light fixture?
To install a flush mount light fixture, you have to assemble the fixture beforehand. Then turn off the electric supply by turning off the circuit breaker. After that, you can move on to your ceiling and wiring. Connect the wires correctly and check the bulb’s wattage and the switch’s capacity. If everything matches out, you can turn on the fixture.
What’s the difference between flush and semi flush mount?
Flush mount fixtures are generally attached close to the ceiling without leaving any gap in between. Semi flush mount light fixtures on the other hand leave a gap between the ceiling and the actual fixture.
How do flush mount lights work?
Flush mount lights work as same as any other light fixture. But as they sometimes come with more than one light, they require a larger wattage capacity switch.
Conclusion
Semi flush mount light fixtures are one of the luxury items. But as technology has become more inexpensive and available, you can get one or many without breaking your bank account. The main thing about any light fixture is putting it up safely as possible. A bad wiring or low-capacity switch will end up damaging the fixture or even bringing the house down in a fire. So make sure you read the details closely before putting the fixture up.