Electrical appliances are always confusing. From their upgraded menu to plugging them in different voltage of outlets to using them, everything seems a bit overwhelming.
Especially if you have to wire a light fixture. Sometimes there are special requirements and if you connect the wires wrong, your fixture is good as dead.
That is why we are here today to talk you through the steps of how to wire a 208-volt light fixture. It’s a foolproof solution and everything will go on smoothly if you follow it correctly.
How to Wire a 208 Volt Light Fixture, Led, Fluorescent, Incandescent Bulb
Light fixtures are a bit complicated if you are putting them up for the first time. All the green, black, brown, red, and white wires create a multiverse of wiring which isn’t anyone’s cup of tea. Unless you are an expert on it, it’s all easy peasy for you.
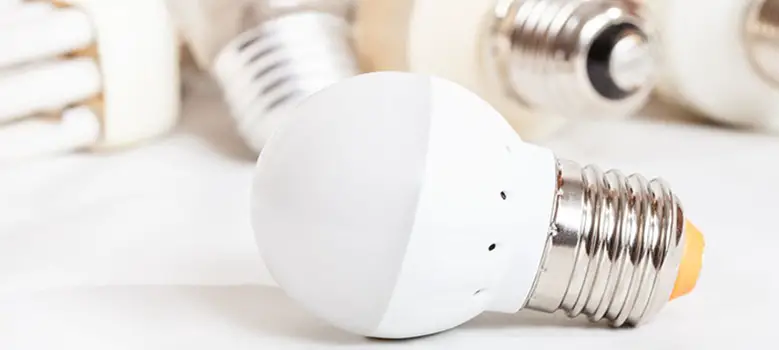
But we are talking about wiring up a 208-volt light fixture. One thing in today’s light fixtures is different than older ones is that they use LED lights. And the LED driver can regulate or self-adjust the voltage. It ranges from 120v-277v. There is no going wrong with it.
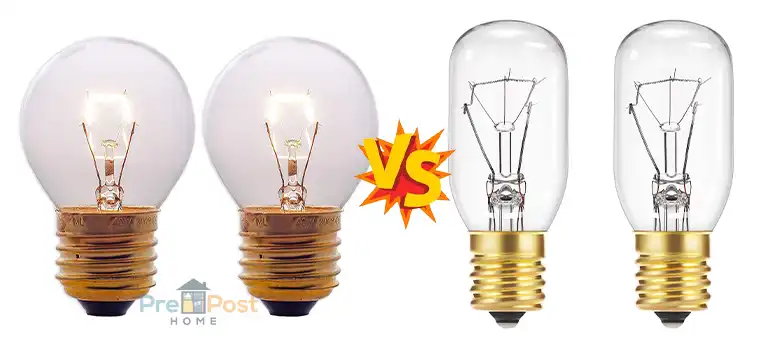
Traditional incandescent or fluorescent light bulb fixtures, on the other hand, are a bit tricky. If you do not wire it right, you might end up with a broken and damaged fixture.
To do that, we have come up with a step-by-step solution for your wiring.
Step 1: Start by taking apart your light fixture from its frame. You might need a screwdriver and a plier. Make sure you do not damage them in any way.
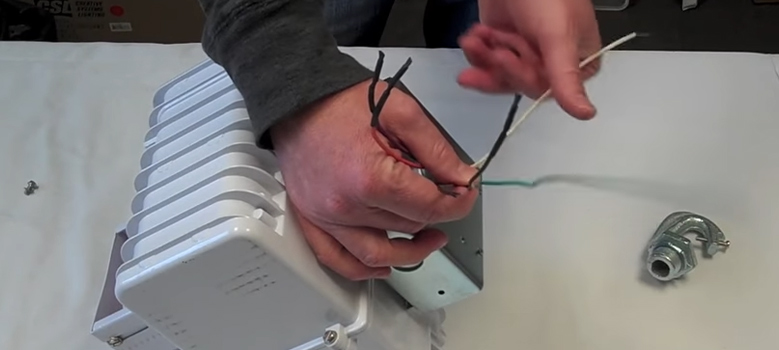
Step 2: When you have taken off the casing of your fixture, you will be exposed to the wires. The wire heads might be covered with its rubber plastic case. Expose half an inch on all of the wires. Typically you will find green/white/gray as the ground wire, red as the positive, and black as the negative.
Step 3: Do the same with the outlet wires where you want to place the light fixture. Make sure the breaker is turned off during this operation.
Step 4: Connect the ground wire first, then the negative, and at the end the positive. Make sure to read the wire’s voltage rates and the light fixtures. This should match your outlet’s wires.
Step 5: If the voltage doesn’t match your house voltage, change the bulb to your house’s output settings. This is only applicable to incandescent and fluorescent bulbs. LED bulbs have built-in optimizers that can take on any type of voltage.
Frequently Asked Questions
Do 208V lights need a neutral?
No. As a 208V light is not have that strong of an electric flow, you don’t need a neutral line for it. But if your light fixture comes with a neutral line, you can wrap it with your home line for better measures.
How many wires are needed for 208V?
Typically if you are connecting your 208V light fixture to a three-phase line, you will need four to five wires. Three of them which will work as hot wires and one or two will be the ground. If there is no ground, you don’t need any for a 208V and three wires will do it.
Can LED lights be run on 208V?
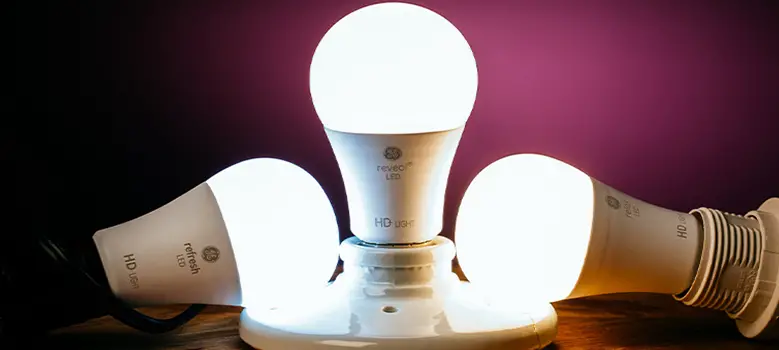
Yes. LED lights can run on a 208V if it is marked as 120v-277v. The reason for this is that LED lights have conductors in them to regulate the electrical flow rather than the traditional incandescent and fluorescent bulbs.
Can you get 208V single phase?
Yes. You can get a 208V single-phase line. But it has to have 2 hotlines and both of them should be 120V. Additionally, you will need a grounding conductor as there is too much flow in just a single phase.
Conclusion
Wiring a 208V light fixture is not much of a deal if you know what you are doing. If you are thinking of doing a DIY, you can with a few safety equipment along with electrical gear. But if you do not understand how a 3-phase line works, better you ask for help from a professional.