
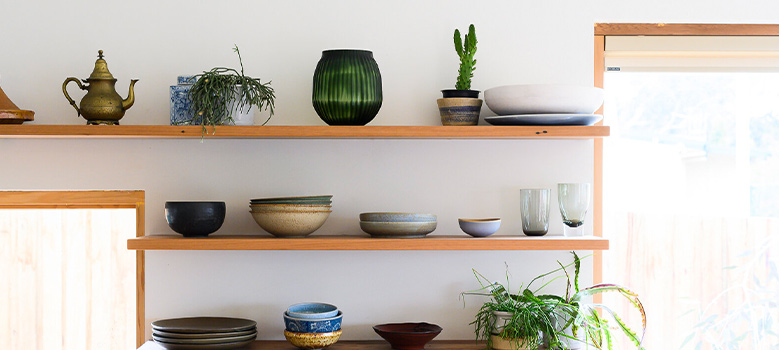
A wall shelf is a necessity in every home. No matter what you want to place on them, they are aesthetic. chic and elegant to put up things.
The thing that bothers us is drilling holes in the wall. If you have your own place, it kind of hits in your heart to drill a hole in the wall. And if you are on a rental, the owner won’t be so pleased.
So what do you do? You can go for a simple solution. It requires a few things that are inexpensive, wall-friendly, and easy to use.
We are going to take you through the steps of how to hang wall shelves without drilling in this article. You will find that it is efficient, powerful and anyone can do it.
How to Hang Wall Shelves Without Drilling Using Adhesive, Glue, and Other Materials
Here is the best way to hang a wall shelf without drilling a hole in it. And it is more charismatic than drilling a hole.
Step 1: Select a Lightweight Wall Shelve and Brackets
Often wall shelves are made out of wood, polycarbonate, ceramic, and other substances. They are sturdy and rugged at the same time heavy. That is why they require strong drilling and screw-on support.
As we are not going to use any drill, you have to select a lightweight wall shelve. Better if it is hollow. This will not only help you with sticking it on the wall but also will be easy to replace in the future.
Also, go for some flexible sturdy brackets. They will keep your wall shelve in place and provide the needed support. Good quality plastic brackets are better than cheaper ones.
Step 2: Select the Wall and Take Measurements
After you have got the shelves and accessories, select the place you want to put it up on the wall. Measure your wall shelve and select the height you want to place it to. A measuring tape, the infrared level can be used to take the correct measurement.
Step 3: Clean the Area
Now the work starts. Take fine sandpaper and rub-down the wall. We want a plain surface. All the small debris and fragments will come in the way and won’t let the shelf stay in place. So rub them all way.
Afterward take a damp cloth with soap, rubbing alcohol, or any cleaning liquid that is friendly to the wall and rubs it down. And let it dry off for a few minutes before we go into the next step.
Step 4: Add the Adhesive
There are a few types of adhesives in the market. The best would be a strong glue adhesive that can hold up anything on the wall. And also easy to remove when you need to take it off. So select any of them from the home improvement department.
Line out the place you want your wall shelf to be with a pencil. Use a level marker for more accurate measurement.
Step 5: Add the Brackets
Also, add some adhesive on the brackets and press on the wall you want to place them on. Mark the places you want the brackets to be beforehand. And leave them apart for about 5-10 minutes. And then put the brackets on the wall with the adhesive on both the brackets and the wall.
Wipe off any excess glue. And let them go firm.
Step 6: Add the Wall Shelve
It would take a few hours for the brackets glue to be firm and solid. We suggest letting them stay like that for 12 hours. After that, you can add your wall shelf on top of the bracket. And you are done!
Now put on all the things you want to put up on the wall shelves. It will withstand 2 kg of weight. More than that would compromise the integrity of the adhesive.
For a More Secured Grip
No one can be too sure about anything. So to make your wall shelves more secure, add some adhesive on the side of the shelf itself and press it on the wall. This will give it the much-needed grip. And it won’t fall off more easily than before.
Frequently Asked Questions
How thick should a floating shelve be?
A floating shelve should be about 2 inches thick.
What space should I leave between multiple wall shelves?
You should leave 15-18 inches of space between wall shelves stalked up one another.
How high should be a wall shelf placed?
A wall shelf should be on your eye level. More accurately, 4-5 feet above the floor.
Conclusion
Wall shelves are not only a piece of home accessory. But also an artwork itself. So provide them with more accurate placing and give them a better look. While wood, ceramic, and metal wall shelves require drilling, lightweight hollow shelves require only adhesive. This takes the floating effect to another level. But remember, they are held up by only adhesives. So don’t put up much weight on one shelf. You can place more than one shelf on the wall and arrange your books, showpieces, or anything with space between them.


