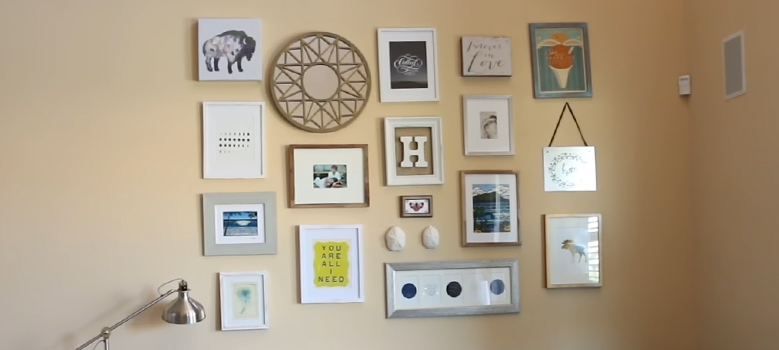
Hanging multiple pictures evenly no longer has to be stressful. Wondering, how? This article will cover you up with the easiest and simplest tricks to hang your pictures straight and even on the wall.
Hanging a picture on the wall is fun only when you know the right way. Otherwise, it can be turned into a hassle or even frustration.
When I was a kid, I was really good at sticking those stickers and photos at our front door. It never seemed to be a big deal that time. Most of the time, it used to happen without having that proper consciousness. But over time, I shifted to the opposite spectrum.
A few years ago, when it came to hanging multiple straight, I felt like escaping the responsibility and passing it to others. The idea of hanging pictures on the wall was enough to snatch my night sleep away. And especially, hanging multiple pictures evenly can be more frustrating because if a single picture goes uneven the whole theme will be ruined.
But the good news is, after having all these trials and struggles, I have found some fantastic methods for hanging multiple pictures straight. I hope this step-by-step guide will be sufficient for the query of how to hang pictures straight. So, let’s get started!
This Article Will Cover
- How to hang a picture
- The best ways to hang multiple pictures evenly
- The easiest way to hang pictures on drywall and
- How to find the right height for wall art
Ways of Hanging Multiple Pictures Evenly
Hanging a picture straight on the wall is always challenging. However, with this simple and easy trick, you’ll never fall short of hanging your pictures perfectly. You know, there’s something called eye-soothing, eye-pleasing, this is exactly what you’re going to get.
Things You’ll Need
- Hammer
- Nails
- Painter’s tape
- Laser level
- Hold your pictures on the wall and eye-ball them. I don’t like hanging pictures too above to eye-level nor too low to shoulder-level. If you have kids, then it is highly recommended that you put them above their reach.
- Use a laser level to mark a tiny line with a pencil. No need to draw lines throughout the entire wall. Just mark a tiny sport or a small line at the furthest ends of the laser level of the wall.
- Get you painter’s tape and make a mild even line between the two spots you just drew.
- Hammer your nails in on the spots you just marked on the wall. And,
- Remove your painter’s tape and hang your pictures!
This particular process is equally effective for hanging a picture as well. If you would like to hang 4/5 or 6 pictures in a row or one after another, then just repeat the same steps for the next row and column. I personally don’t like to measure each and every distance between two frames rather just eye-ball it. Though, it is you who will eventually make the thing happen. Do as you feel comfortable about it.
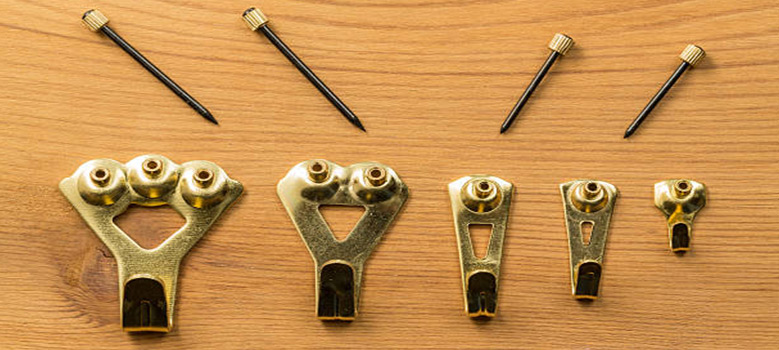
Besides, if you do not like to use nails and hammer on you newly painted walls, no worries, you can use adhesive picture hooks that leave no marks.
Final Words
When you’re hanging a picture or multiple on your wall, remember you’re decorating your home. This is a big part of your entire home decoration. Therefore, it needs to be as perfect as possible. I hope that these simplest steps will be sufficient for you to have perfectly hanged pictures on the wall.
Last but not least, if you don’t like using a drill to hole into the wall, here’s our article on that.

