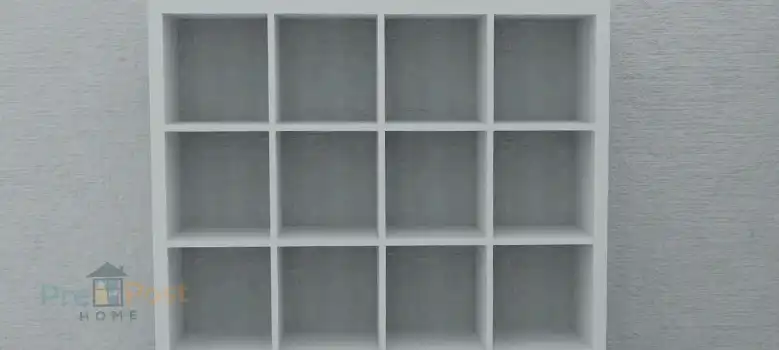
Kallax, the modular shelving unit from IKEA, has become a popular choice for many homes due to its versatility and affordability. While it is designed to be freestanding, you can also mount it on the wall to save space and create a more open feel. Whether you are using it as a bookshelf, toy storage, or decorative display, mounting your Kallax on the wall can be a great way to maximize your space.
Gather the Necessary Supplies
Before you begin, it is important to gather all of the supplies you will need. This includes:
- Kallax shelving unit
- drill
- screwdriver
- Wall anchors (if necessary)
- stud finder (optional)
- level
- pencil
- tape measure
Find the Right Spot
The first step is to find the right spot for your Kallax unit. Consider the following factors when making your decision:
Accessibility: Make sure the location is easily accessible so that you can easily access the shelves and compartments.
Clearance: Ensure there is enough clearance around the unit to allow for easy opening and closing of doors and drawers.
Weight distribution: Consider the weight of the items you plan to store on the shelves and choose a location that can support the weight.
Aesthetics: Choose a location that complements the overall design of your room.
Locate the Studs
If you are mounting your Kallax to a drywall wall, it is important to locate the studs. Studs are the vertical wooden or metal supports that provide structural support to the wall. Anchoring your Kallax to the studs will ensure a secure and stable installation.
To locate the studs, you can use a stud finder. A stud finder is a handheld device that detects the presence of studs behind drywall. Simply run the stud finder along the wall and it will beep or light up when it detects a stud.
Marke the Hole Locations
Once you have located the studs, you can mark the locations of the holes where you will drill the pilot holes. Hold the Kallax up to the wall and use a pencil to mark the locations of the mounting holes. If you are using studs, make sure the holes are centered on the studs.
Drill the Pilot Holes
Using a drill, create pilot holes at the marked locations. Pilot holes provide a guide for the screws and help to prevent the wood from splitting.
Insert Wall Anchors
If you are not mounting the Kallax to a stud, or if the wall is made of brick or concrete, you will need to use wall anchors. Wall anchors are inserts that provide additional support for the screws in drywall, brick, or concrete walls.
Insert the wall anchors into the pilot holes and ensure they are flush with the wall surface.
Mount the Kallax to the Wall
Carefully lift the Kallax unit and align the mounting holes with the pilot holes or wall anchors. Insert the screws through the mounting holes and into the pilot holes or wall anchors. Tighten the screws securely using a screwdriver.
Check for Level
Use a level to ensure the Kallax is level. If it is not level, adjust the screws or wall anchors accordingly.
Attach the Safety Straps
Kallax units come with safety straps that should be attached to the wall to prevent the unit from tipping over. Locate the designated spots for the safety straps and attach them securely to the wall.
Additional Tips
- If you are hanging a large Kallax unit, consider enlisting the help of another person to assist with the lifting and mounting.
- If you are not comfortable using a drill or other power tools, you can hire a professional to hang the Kallax for you.
- Be sure to follow the instructions that come with your specific Kallax unit.
Kallax FAQs
How much weight can a Kallax shelf hold?
The maximum weight capacity is around 110 lbs per square foot of shelf space. Load heavier items on lower shelves.
Can I mount it to drywall alone?
Drywall alone may not provide sufficient support, so locate wall studs or use heavy-duty wall anchors.
Can I hang a Kallax over a fireplace?
It is not recommended to hang a Kallax over a fireplace. The heat from the fireplace could damage the unit and could pose a fire hazard.