Transition pieces are essential for connecting Pergo laminate flooring to other types of flooring or thresholds. Installing them properly completes your floor and creates seamless transitions between rooms. With some basic DIY skills and the right materials, installing Pergo transitions is a straightforward process.
There are a variety of different types of Pergo flooring transition pieces available, so it is important to choose the right type for your needs. Before you install Pergo flooring transition pieces, it is important to prepare the subfloor by making sure that it is level, clean, and free of debris.
Once you have prepared the subfloor, you can begin installing the transition pieces by following the steps outlined in this article.
Materials I Used for Installing Pergo Flooring Transition Pieces
To install Pergo transitions, you’ll need:
- Pergo transition moldings (T-molding, reducers, end caps, etc.)
- Miter saw and fine blade
- Rubber mallet and tapping block
- Adhesive (Pergo glue or Liquid Nails)
- Finishing nails and hammer
- Caulk/silicone sealant
- Rags and mineral spirits for cleanup
Choose transition pieces that closely match the color and style of your Pergo flooring. Having all the right supplies will make the installation smooth.
Procedure for Installing Pergo Flooring Transition Pieces
Follow these key steps:
STEP 1: Prepare the Subfloor
- Thoroughly clean and vacuum the subfloor.
This is an important step in preparing the subfloor for new flooring, as any dirt, dust, or debris can interfere with the adhesion of the new flooring. To thoroughly clean the subfloor, you can use a vacuum cleaner with a HEPA filter, a broom, and a damp mop. Be sure to remove any staples, nails, or other fasteners that may be protruding from the subfloor.
- Fill any uneven areas with a floor leveler.
A floor leveler is a self-pouring liquid compound that can be used to fill in uneven areas of a subfloor. This is important because uneven areas can cause the new flooring to buckle or warp over time. To use a floor leveler, simply follow the instructions on the product label.
- Leave 1/4″ expansion gaps between flooring and walls/fixed objects. Transitions will cover gaps.
Expansion gaps are necessary to allow the new flooring to expand and contract with changes in temperature and humidity. If expansion gaps are not left, the flooring can buckle or warp. Transition pieces, such as T-molding and reducers, can be used to cover the expansion gaps.
STEP 2: Choose your Transition Type
There you will find four types of transition types.
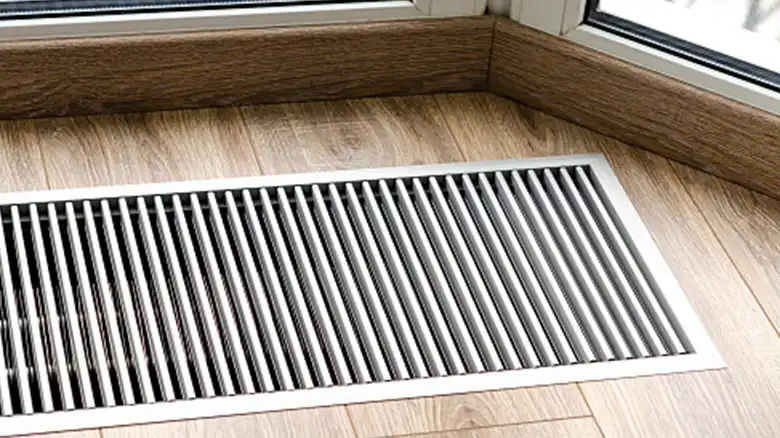
- T-molding
T-molding is a type of transition piece that is used to connect two floors of similar height. It is commonly used to transition between two types of flooring, such as hardwood and tile, or between two rooms with different types of flooring. T-molding is also used to cover expansion gaps between flooring and walls.
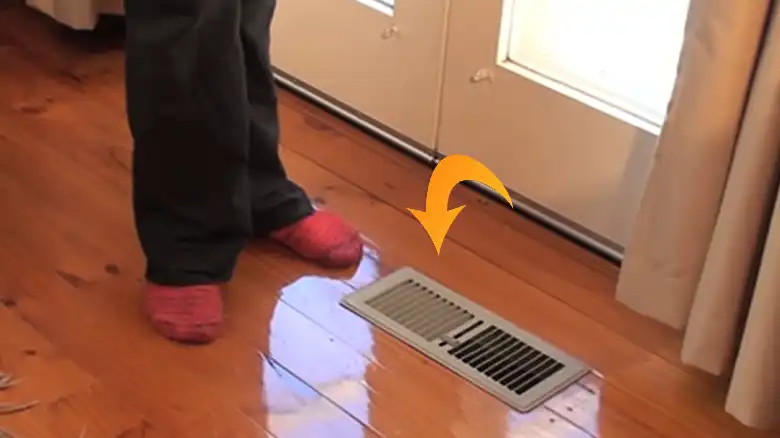
- Reducers
Reducers are a type of transition piece that is used to transition from a higher floor to a lower floor. They are commonly used to transition from hardwood or tile to carpet or vinyl. Reducers are also used to cover expansion gaps between flooring and stairs.
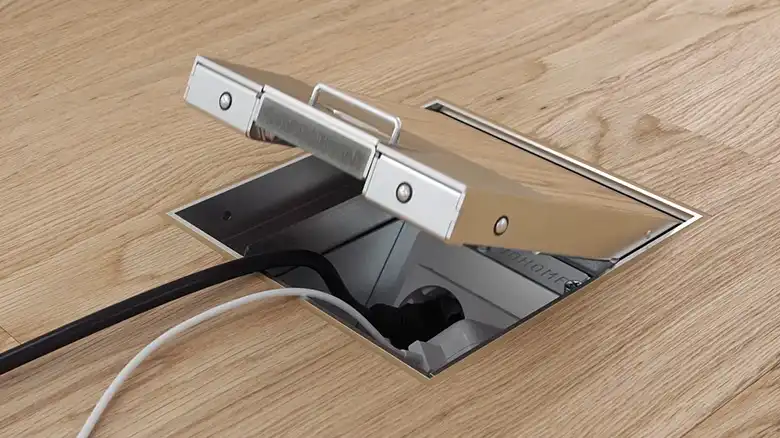
- End caps
End caps are a type of transition piece that is used to finish the space between flooring and thresholds. They are commonly used at the end of a row of flooring, at the entrance to a room, or around doorways.
- Carpet Transition
A carpet transition is a type of transition piece that is used to transition from one type of flooring to another, typically from hard flooring to carpet. Carpet transitions are important because they can help to protect the edges of the carpet from fraying and wear and tear. They can also help to create a smooth and seamless transition between the two types of flooring.
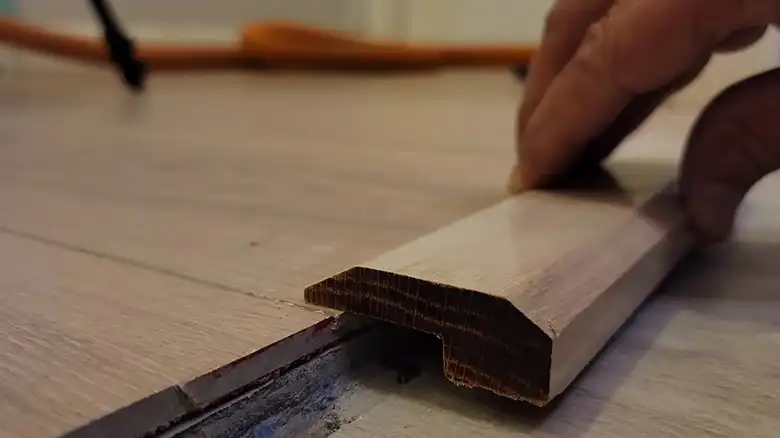
STEP 3: Install Your Moldings
- Measure and cut moldings to the right length using a miter saw.
- Apply adhesive to the molding’s bottom ridge.
- Position and press molding into place with a rubber mallet.
- Nail the molding every 8-12″, predrilling holes.
- Caulk all edges and gaps for a finished look.
- Repeat steps for all transition pieces.
Take care to keep moldings 1/16″ from adjacent surfaces when installing. Adhesive and nails ensure a secure attachment.
Tips for Installing Pergo Flooring Transition Pieces
- Make slow, steady miter saw cuts to avoid uneven edges.
- Ensure end caps and reducers finish flush with floor level.
- Wipe away any squeezed-out adhesive immediately before it dries.
- Nail pre-drilled holes to avoid splitting molding.
- Allow proper expansion room around all sides of moldings.
Conclusion
Installing Pergo transition moldings is easy with the proper preparation and materials. Measure twice, cut accurately, and utilize adhesive, nails, and caulk for solid installation. Transitions neatly finish a Pergo flooring installation project and seamlessly blend between flooring types. Thanks for reading! Let me know if you have any other Pergo flooring questions.