
Remember the time you accidentally touched your light fixture on top of your workstation and got a mini electrical shock? This happens mostly on fluorescent light fixtures and there’s a reason behind that.
Fluorescent light fixtures have a metal body. And as the fixture doesn’t have much grounding ability, some current flow can be traced inside and outside the metal structure.
So what do you do? Get shocked all the time? No. You ground your fixture to prevent that.
But how to ground a fluorescent light fixture? With one single wire and a screw, you can do that.
How to Ground a Fluorescent Light Fixture
Green is the color. Any grounding wire is leveled green for convenience. As red and black wires represent hot and neutral, the green is good for keeping you safe.
It is fairly easy if you have a modern fluorescent light. They come with a dedicated grounding screw on the side of their metal frame.
Here is the step-by-step process of grounding a modern and traditional fluorescent light fixture.
Modern Fluorescent Light Fixture Grounding Process
Things required
- Screwdriver.
- Greenwire.
- Wire connector.
- LED none-contact volt tester.
Step 1: Start with the LED none contact volt tester. This device will light up where there is an electrical flow without touching the object. Check your fixture with it.
Step 2: Modern fluorescent light fixtures have a green screw on them which you can use to ground your light.
Step 3: Unscrew the screw and attach the green wire to it. Use a wire connector on the wire tip for better performance.
Step 4: Connect the other end of the green wire to your outlet grounding wire which is also green. And you’re done.
Grounding Traditional Fluorescent Light Fixture
Things required
- Screwdriver.
- Green grounding wire.
- Wire clip.
- Automatic LED none-contact volt tester.
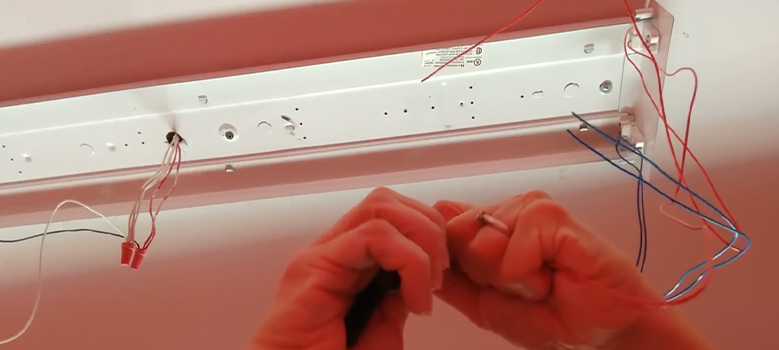
Step 1: Turn off the breaker. Take off the fixture cover if there is any. Then the light, ballast, and metal case.
Step 2: Attach a wire clip to one end of the green wire. Screw it on the back of the fixture with a screw.
Step 3: Connect the green wire to your outlet’s ground wire.
Step 4: Put back all of the fixtures, light, cover, and ballast back. You have now successfully grounded your light fixture.
Tip: As traditional fluorescent light fixtures don’t have a dedicated screw for grounding, you can use any hole on the metal case of the fixture to attach one. Suppose there is no hole at all, drill one with a drill.
Frequently Asked Questions
Where does the ground wire go on the fluorescent light fixture?
The ground wire attaches to the metal body of a fluorescent light fixture. Modern fixtures have a dedicated green screw where you can attach the wire with ease. Using a wire clip rather than just twisting the wire on the screw is a better and cleaner option.
Will a ballast work if not grounded?
Yes. A ballast works with the light fixture completing the electrical transfer. It has nothing to do with the grounding. But as the ballast is responsible for the electrical flow, it is one of the reasons that your fixture shocks you on touch if not grounded.
How to ground a ballast?
Normally you don’t need to ground a ballast individually. Grounding your light fixture will ground the ballast as a whole.
How are light fixtures grounded?
Light fixtures are grounded using a green wire attached to the green screw on the light fixture. Simply attach the wire with a wire clip and screw it to the screw. Then attach the other end of the wire to your outlet grounding wire.
Conclusion
Grounding your light fixture not only prevents it from shocking you but also makes the fixture safe from high voltage electrical flow. Make sure you are working with safety equipment while working with electrical appliances. And always leave the breaker off before starting. Wearing rubber working boots also helps you not get accidental shocks and falls.


