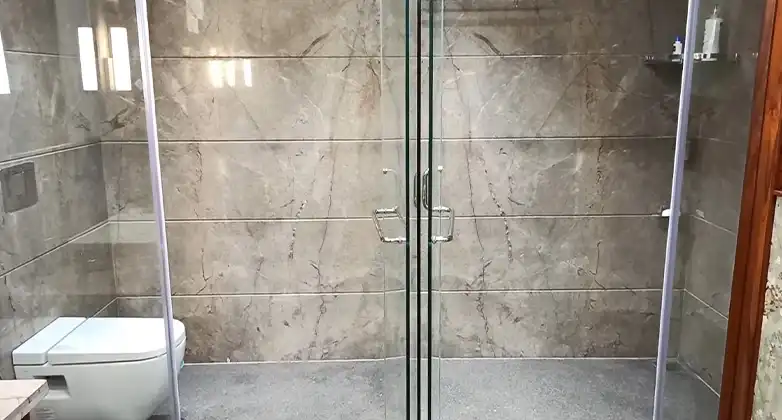
Keeping your plastic RV shower clean is essential for maintaining hygiene and a pleasant camping experience. Regular cleaning not only ensures a sparkling shower but also prevents the buildup of grime and mold.
In this article, we will provide you with a step-by-step guide on how to effectively clean your plastic RV shower. From the floor and walls to the shower head and fixtures, we’ve got you covered.
How Should You Clean Different Part Of Your Rv Shower
List of Things You’ll Need: Before starting the cleaning, gather the followings to use in the process.
- Mild dish soap or RV-specific cleaner
- White vinegar
- Baking soda
- Soft sponge or microfiber cloth
- Old toothbrush
- Plastic spray bottle
- Rubber gloves
- Old towels
Floor and Walls:
Cleaning the floor and walls of your RV shower is a simple process that can keep your bathroom fresh and tidy. Here’s a professional guide to help you get started:
- Create a basic all-purpose cleaning solution by combining 1 US tbsp (15 mL) of liquid dish detergent, 2 cups (473 mL) of water, and 1 cup (237 mL) of white vinegar in a clean spray bottle. Secure the lid tightly and give the bottle a few shakes to mix the ingredients thoroughly. This solution effectively tackles soap scum, hard water spots, and general grime.
- To address mold and mildew, prepare a separate solution by combining 1 cup (237 mL) of bleach with 1 gallon (3.79 L) of water in a spray bottle. Shake well to ensure the bleach and water are fully mixed. This solution is ideal for combating dark brown, green, or black spots caused by mold and mildew.
- Start by spraying the cleaning solution onto the floor and walls of your RV shower. Point the nozzle inside the shower and squeeze the trigger while moving the nozzle back and forth to evenly coat the surfaces. If it’s more convenient, work on one wall at a time and finish with the floor. Allow the all-purpose cleaning solution to sit for a few minutes for tough stains, or up to 24 hours for mold and mildew, to effectively break them down.
- Next, grab a wet sponge and use it to scrub off the cleaner from the surfaces. You can either hold the sponge under running water or dip it in a bucket of clean water. Start from the top and work your way down, wiping off the cleaner from each wall before moving on to the floor. Rinse the sponge regularly to remove any accumulated cleaning solution or dirt. For areas affected by mold and mildew, focus your scrubbing efforts to ensure thorough cleaning. Use a cotton swab for hard-to-reach spots that may have stains or mold and mildew.
- After scrubbing, it’s time to rinse away any remaining residues. Use the shower head to hose down the walls and floor of the shower. Turn on the shower head and spray thoroughly to ensure all the cleaning solution is washed away and goes down the drain. If your shower head doesn’t have a hose, you can bring in a garden hose from outside or use buckets of fresh water to rinse the shower.
- To facilitate drying, leave the shower open and ventilated. Open the shower door and any available windows in the bathroom to maximize air circulation. If you want to speed up the drying process, you can also use an old towel to wipe the walls and floors of the shower.
By following these steps, you can keep your plastic RV shower clean and maintain a refreshing environment while on your travels.
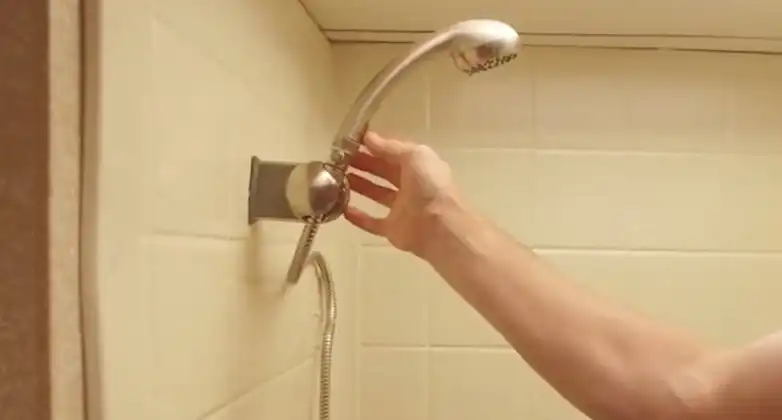
Shower Head and Fixtures:
Maintaining a clean shower head and fixtures in your RV is essential for a refreshing shower experience. Here’s a friendly and professional guide to help you through the process:
- Start by unscrewing the shower head from the hose or shower pipe. With one hand, hold the base of the shower head, and with the other hand, hold the hose or pipe. Twist the shower head counterclockwise until it loosens and comes free. If there is a nut at the base holding it in place, loosen the nut before removing the shower head.
- To clean the inside of the shower head, pour white vinegar through the hole at the base. Hold the shower head vertically over a sink or container and slowly pour white vinegar into the opening where it screws onto the hose or pipe. The vinegar will effectively dissolve mineral deposits caused by hard water and help keep the shower head clean.
- To unclog the spray holes, soak the shower head in white vinegar. Place the spray end of the shower head in a small bowl or container, ensuring that all the spray holes are submerged. Fill the bowl or container with enough white vinegar to cover the spray holes completely. For any stubborn mineral deposits blocking the holes, use a toothpick or a similar pointed object to carefully scrape them away.
- Wipe down the shower head and other fixtures using mild dish soap and water. Apply a few drops of dish soap onto a wet sponge or cloth and scrub the exterior of the shower head, as well as the hose or pipe and other fixtures in the shower. If there are mineral deposits on the fixtures, you can use a solution of 2 parts water to 1 part vinegar for added cleaning power. Alternatively, disinfecting wipes can be used to wipe everything down.
By following these steps, you can effectively clean your RV shower head and fixtures, ensuring optimal water flow and a hygienic bathing experience during your travels.
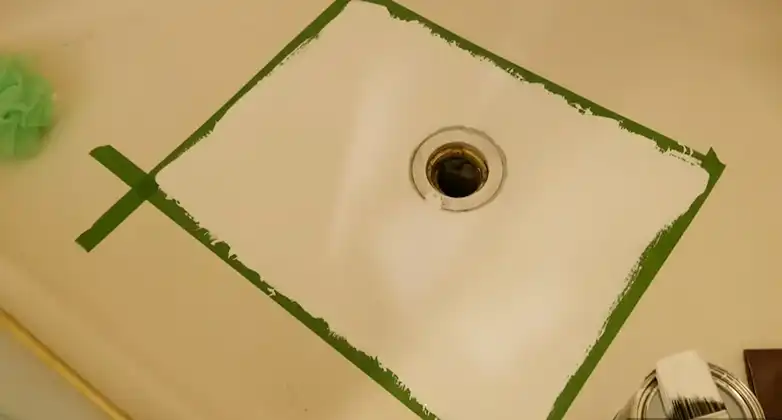
Shower Drain
Keeping the shower drain in your RV clean is crucial for proper drainage and preventing clogs. Here’s a friendly and professional guide to help you clean your RV shower drain:
- To loosen clogs and grime, pour about 3 tablespoons (60g) of baking soda down the drain, followed by approximately 1 cup (237mL) of white vinegar. Allow the mixture to sit for a few hours or overnight, effectively breaking down any buildup. This method is particularly useful if you notice slow drainage in your shower. Avoid using strong chemical drain cleaners, as they can be harmful to your wastewater tank.
- Rinse the drain with hot water to flush out any remaining residue. Turn on the hot water using the shower head and direct the stream of water directly down the drain. Hold it in place for a minute or two, ensuring thorough rinsing of the baking soda and vinegar, as well as any loosened debris. If the drain continues to drain slowly, repeat the process with baking soda and vinegar until the issue improves.
- Use a wire coat hanger or a similar tool to remove hair and other debris from the drain. Straighten out a wire coat hanger, creating a long tool that can be inserted into the drain to fish out any trapped materials. Alternatively, you can use needle-nose pliers or another skinny, pointy utensil for this purpose. Avoid using wooden or fragile objects that may break. Installing a shower drain screen can also help catch hair and debris, preventing clogs.
- To whiten discolored drain surfaces, sprinkle baking soda around the stained areas. Wet a dish scrubbing pad or an old toothbrush, then scrub the baking soda into the discolored portions, effectively cleaning them. Pay extra attention to white plastic shower drains, as they tend to develop a brownish or orangish ring. For hard-to-reach areas inside the drain, tape an old toothbrush to a long metal rod using duct tape or another sturdy tape.
By following these steps, you can effectively clean your RV shower drain, ensuring proper drainage and minimizing the risk of clogs.
Tips and Warnings
- Regularly clean your RV shower to prevent the buildup of mold, mildew, and soap scum.
- Avoid using harsh abrasive cleaners or tools that may scratch the plastic surface.
- Wear rubber gloves to protect your hands from cleaning solutions and bacteria.
- Ventilate the RV shower area properly to aid in drying and prevent mold growth.
- Follow the manufacturer’s guidelines and recommendations for cleaning and maintenance.
FAQs (Frequently Asked Questions)
Can I use bleach to clean my plastic RV shower?
It is generally not recommended to use bleach on plastic surfaces as it can cause discoloration or damage. Stick to mild dish soap, RV-specific cleaners, vinegar, and baking soda for safe and effective cleaning.
How often should I clean my RV shower?
It is advisable to clean your RV shower at least once a month or more frequently if you notice visible dirt, stains, or odors.
Can I use a pressure washer to clean my plastic RV shower?
It is not recommended to use a pressure washer on your RV shower as the high-pressure water can damage the plastic and cause leaks.
Conclusion
By following this comprehensive guide on how to clean a plastic RV shower, you can ensure a sanitary and enjoyable showering experience while on your camping adventures. Regular maintenance and proper cleaning techniques will help keep your RV shower looking fresh, free from mold or grime, and ready for your next outdoor getaway. Remember to prioritize gentle cleaning methods and use the recommended cleaning solutions to protect the integrity of your plastic shower. With a clean and inviting shower, you can fully enjoy the comforts of your RV while on the road.