A Moen showerhead is a popular choice for many homeowners due to its quality construction and reliable performance. However, there may come a time when you need to disassemble the shower head for cleaning, maintenance, or to troubleshoot a flow issue.
In this step-by-step guide, we will walk you through the process of disassembling a Moen shower head, ensuring a successful and hassle-free experience. By following these instructions carefully, you’ll gain valuable insights into the inner workings of your shower head and be able to address any potential issues.
Understanding The Mechanism of a Moen Shower Head
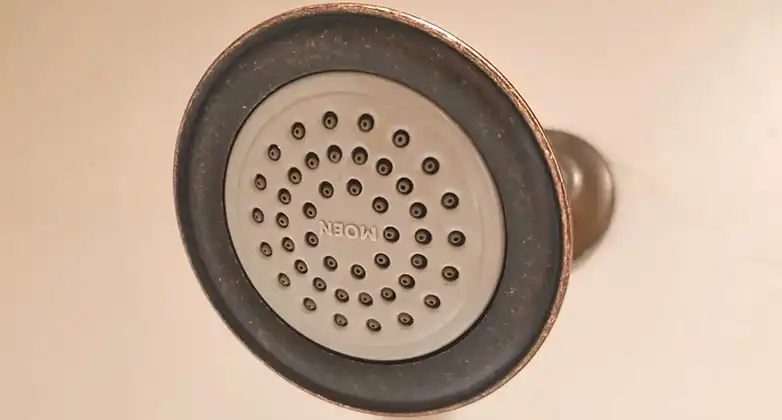
A Moen showerhead is designed to provide a pleasant and invigorating shower experience by delivering a consistent flow of water with various spray patterns and settings. Within the shower head, there are various components working together. A rubber gasket helps to create a watertight seal when connecting the shower head to the shower arm. The flow restrictor regulates the water flow rate, ensuring optimal water conservation. The faceplate, secured by screws or caps, covers the internal components and provides a sleek appearance. The aerator helps to mix air with water, resulting in a soft and even spray pattern. Understanding the mechanism of a Moen showerhead allows for proper maintenance, troubleshooting, and customization of the showering experience.
Disassembling A Meon Shower Head: Might Be Easier Than You Think
A meon showerhead seems to have a complex built device. But if you follow these steps, i may be a lot easier for you.
- Step 1: Gather the Necessary Tools: Before starting the disassembly process, it’s essential to gather the required tools. Here’s a list of items you’ll need:
- Adjustable wrench
- Pliers
- Screwdriver (Phillips or flathead, depending on the shower head model)
- A toothbrush or small cleaning brush
- Bowl or bucket Having these tools ready will ensure a smooth disassembly process and make it easier to handle the different components.
- Step 2: Prepare the Work Area: To prevent any accidental damage or loss of small parts during the disassembly process, it’s crucial to prepare a clean and organized work area. Clear any clutter from the surrounding space and place a towel or mat on the countertop or floor to provide a soft surface for the disassembled parts. This will also help to prevent scratches or damage to the shower head finish.
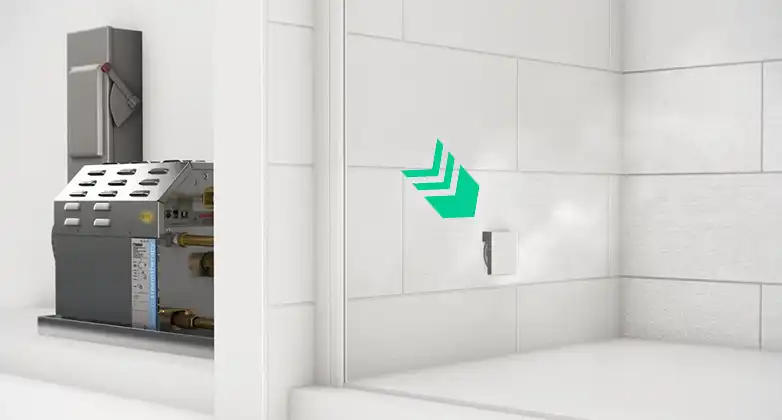
- Step 3: Shut Off the Water Supply: Before beginning the disassembly, it’s essential to turn off the water supply to the shower head. Locate the shut-off valve for your shower and turn it clockwise until it is fully closed. This will prevent water from flowing during the disassembly process and ensure a mess-free experience.
- Step 4: Remove the Shower Head: To remove the Moen shower head, follow these steps:
- Grip the shower head firmly with one hand.
- Use an adjustable wrench to loosen the connection between the shower head and the shower arm by turning it counterclockwise.
- Continue loosening until you can remove the shower head completely by hand.
- Place the removed shower head in a safe location, such as the bowl or bucket, to collect any residual water.
- Step 5: Disassemble the Shower Head Components: Now that you have the shower head removed, it’s time to disassemble its components. Examine the shower head for any visible screws or caps. If there are visible screws, use a screwdriver (Phillips or flathead) to remove them and set them aside in a safe place. If there are caps, gently pry them off using a flathead screwdriver or your fingers. These caps may be located at the center or other areas of the shower head. Once the screws or caps are removed, you should be able to separate the different components of the shower head, such as:
- Remove the O-ring: Begin by pulling out the O-ring located at the back of the Moen shower head to prepare for disassembly.
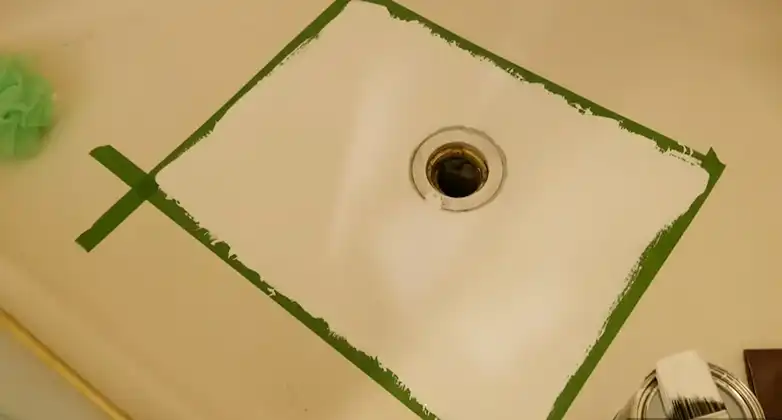
- Pop out the trim cap: Use a screwdriver to gently pop out the plastic trim cap located in the center of the shower head, revealing a Phillips screw underneath.
- Unscrew the spray cap: Rotate the plastic spray cap counterclockwise while holding the shower head casing firmly, allowing it to come off easily.
- Remove the water distributor: With the spray cap removed, the plastic water distributor becomes accessible. It can be gently popped out or tapped down using a socket if necessary.
- Separate the brass ball swivel: Notice the rubber-coated brass ball swivel sitting on top of the water distributor. It is held in place by a spring-loaded plastic collet. Carefully lift the ball swivel out of the distributor.
- Remove the green restrictor: Within the brass ball swivel, you’ll find a green plastic part that acts as a flow restrictor. Push it out from the bottom of the ball swivel using a small screwdriver.
- Take note of the order and arrangement of the components as you disassemble them to ensure easy reassembly later.
- Step 6: Clean and Inspect the Components: With the shower head components disassembled, it’s an excellent opportunity to clean and inspect each part. Here’s how you clean the components:
- Rinse the components under warm water to remove any dirt or debris.
- Use a toothbrush or small cleaning brush to gently scrub the components and remove any built-up residue.
- Inspect each part for signs of wear, damage, or mineral deposits. If necessary, soak the components in a mixture of equal parts water and vinegar to remove mineral buildup.
- Thoroughly rinse the components again and pat them dry with a clean cloth.
- Step 7: Reassemble the Shower Head: Now that you have cleaned and inspected the shower head components, it’s time to reassemble them in the correct order. Follow these steps:
- Begin by placing the rubber gasket onto the shower arm.
- Attach the flow restrictor, if applicable, to the shower arm.
- Next, align the faceplate with the shower arm and secure it by tightening the screws or pressing the caps back into place.
- Ensure that all the components are properly aligned and seated.
- Reattach the shower head to the shower arm by turning it clockwise. Use an adjustable wrench to tighten it securely, but be careful not to overtighten it, as it may cause damage.
- Turn on the water supply and check for any leaks. If you notice any leaks, try tightening the connections further or inspecting the components for any damage or improper placement.
- Once you are satisfied with the reassembly and there are no leaks, test the shower head to ensure it is functioning correctly.
Frequently Asked Questions and Answers – FAQs
Is it safe to disassemble a Moen showerhead on my own?
Disassembling a Moen showerhead is generally safe if you follow instructions, but you can always seek professional assistance if unsure.
Do I need special tools for disassembling a Moen showerhead?
Basic tools like a screwdriver may be required, and check your specific instructions for any additional tools needed.
Can I reassemble the shower head if I encounter difficulties?
Yes, you can reverse the steps to reassemble, but exercise caution or seek professional help if necessary.
Is it necessary to remove the O-ring before disassembling the shower head?
It’s not always necessary, but removing the O-ring can make the process easier by providing better access to the internal components.
Conclusion
Disassembling a Moen showerhead may seem like a daunting task, but with the right tools and a systematic approach, it can be easily accomplished. By following this step-by-step guide, you can gain a better understanding of your shower head’s components and address any issues effectively. Remember to exercise caution throughout the process, and if you encounter any difficulties or uncertainties, consult the manufacturer’s manual or seek professional assistance. Regular cleaning and maintenance of your shower head will help ensure its optimal performance and longevity, providing you with a refreshing and enjoyable shower experience for years to come.